
An underground fence works through three main parts: a buried wire loop that transmits radio signals, a transmitter that sends those signals through the wire, and a collar receiver your dog wears. When your dog approaches the boundary, the collar beeps as a warning. If they cross the line, it delivers a gentle electronic correction.
You’ll bury the wire one to three inches deep around your yard and train your dog using flags as visual markers. Each component works together to keep your pet safely contained within the designated area.
The Buried Wire: Your Underground Fence’s Core Component
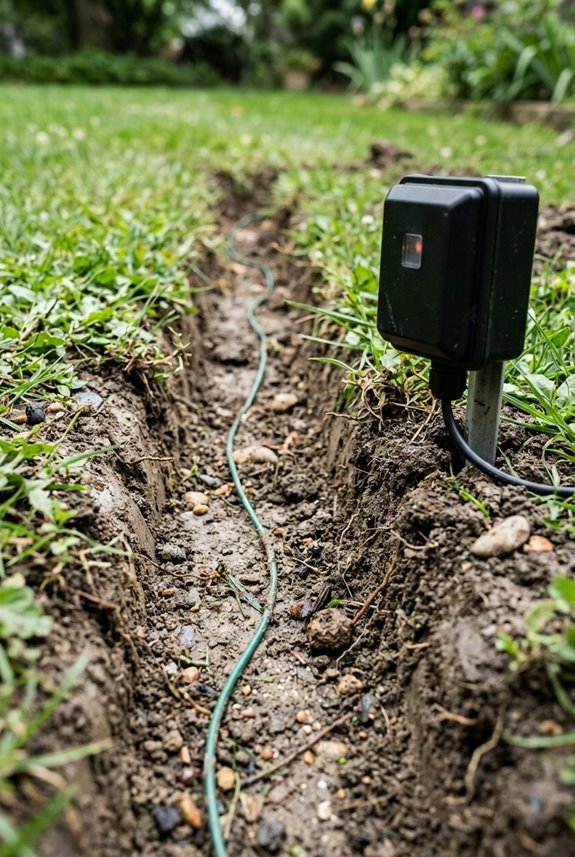
Ever wondered what makes an underground fence actually work? The buried wire is your system’s foundation. This single insulated wire forms a complete loop around your yard, buried just 1 to 3 inches below the surface. That shallow depth keeps it hidden while staying effective.
Your transmitter sends radio signals through this underground wire continuously. When your dog wears the receiver collar and approaches the boundary, they’ll detect that signal. Most kits include about 500 feet of 18-gauge wire, which works for average yards.
The wire functions as your fence’s nervous system. It needs proper care to function well. Check regularly for breaks or damage. Keep it buried at the right depth. When your wire stays intact, your boundary stays strong and reliable.
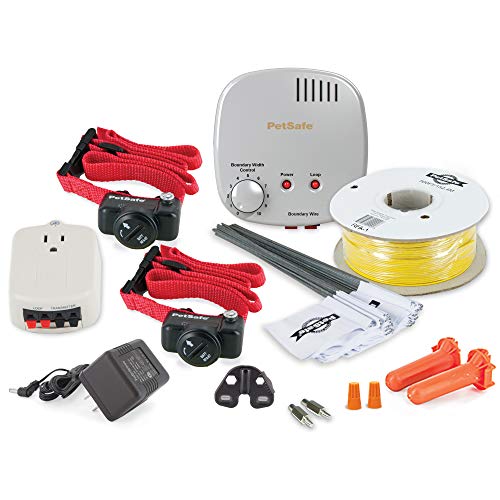
Create A Secure Yard: Give your pets a secure yard to play in with our durable and weather-resistant in-ground containment system that includes electric surge protection

Create A Custom-Shaped Fence: Create a safe 1/3-acre play area for your best friend with the included 500 ft of wire; purchase additional wire to expand up to a 25-acre yard

Secure A 1/3 Acre Yard: Create a safe 1/3-acre play area for your best friend with the included 500 ft of wire; purchase additional wire to fence in up to 5 acres
The Transmitter’s Invisible Boundary
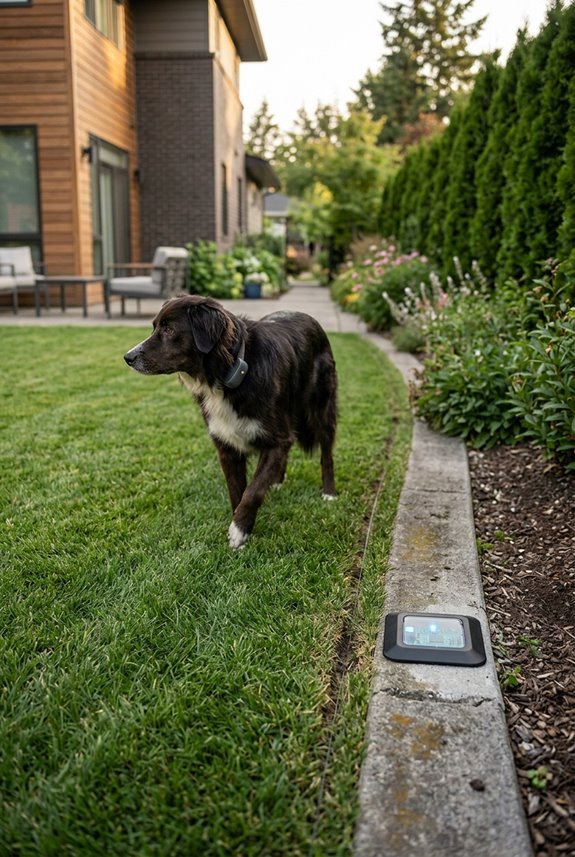
How does your dog know where to stop when there’s no physical fence? The answer lies in your transmitter, the system’s brain. I’ll mount mine near an electrical outlet in a dry location, where it’ll emit a radio signal through the buried boundary wire. This signal creates an invisible boundary that your pet recognizes through their collar receiver. The transmitter’s power and the wire’s integrity are essential. Indicator lights show the system’s status. If power fails, containment stops unless backup power is available. The specific transmitter model determines transmission range and correction levels. By burying the wire one to three inches below the surface, you establish a reliable perimeter that keeps pets safely contained within the yard.

1,000 Feet of eXtreme Protection Electric Dog Fence Wire - Polyethylene Coated - Stronger and Longer Lasting than Factory Packaged Wire

🎖️ 16 Gauge Heavy-Duty Dog Fence Cable - High performance, thick perimeter wire recommended as a minimum for the added value and longevity of your underground pet fence investment
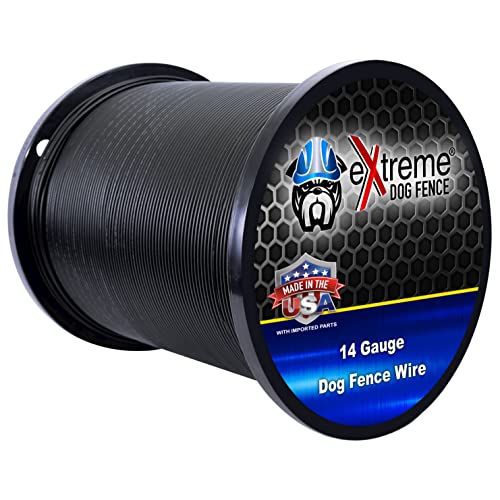
250 Feet Continuous Spool - 14 AWG boundary wire professional grade dog fence wire with a thick 45 mil jacket for extra protection
What Happens When Your Dog Approaches the Wire
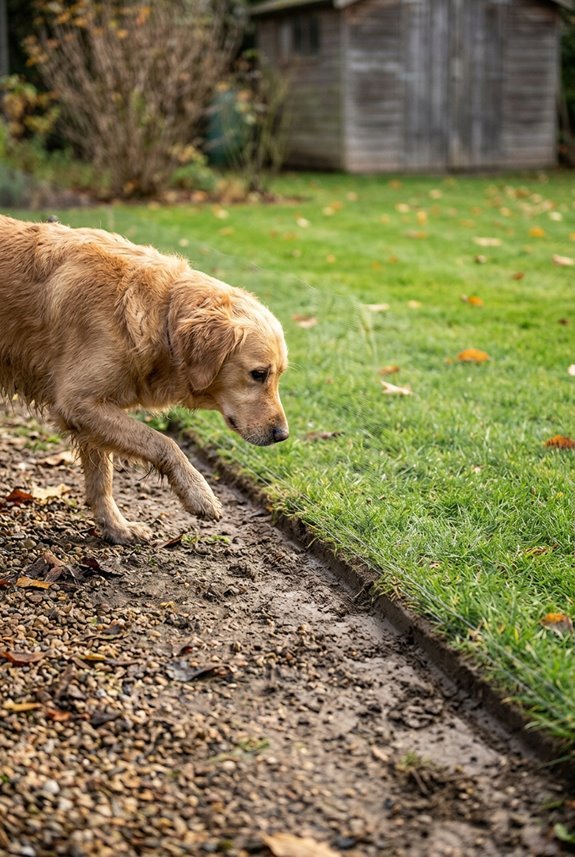
When your dog gets close to the buried wire, the collar springs into action with a warning beep, giving your pup a chance to turn back before anything else happens. If your dog ignores that alert and keeps moving toward the boundary, the collar delivers an electronic correction that’s meant to discourage crossing, not punish your dog. Through training with visual markers like flags, your dog learns to connect that beep and correction with the invisible boundary, so over time they understand exactly where the safe zone ends.

Age Range Description: All Life Stages

Replacement Transmitter Only: Designed to replace the original PetSafe In-Ground Fence transmitter; ideal for restoring system function without buying a full kit.
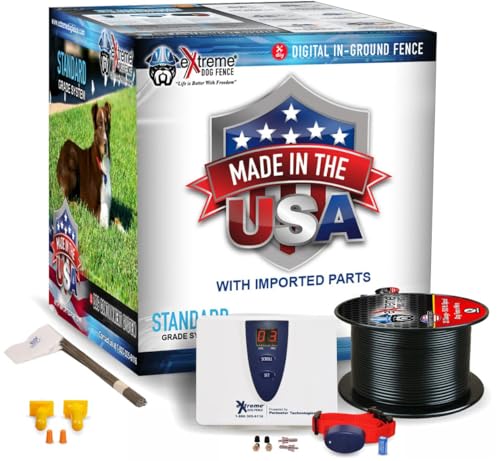
🎖️ Improved: The 2nd Generation eXtreme Dog Fence STANDARD GRADE Kit Covers Up to 6 Acres. The Updated Electronics are Designed for Compatibility with New Collar Options. 3 Antennas, 12x Battery Check, +More
Warning Sound Activation
Envision this: your dog’s collar starts beeping the moment he wanders too close to that buried boundary wire. That warning sound isn’t random. It’s your dog’s first alert that he’s approaching the boundary. The beep serves as a crucial checkpoint before any correction happens. The sound increases in volume and frequency as your dog gets closer to the wire, giving him a clear message: turn back now.
This system works because dogs learn to associate the beeping with the boundary’s location. You’ll pair these warning sounds with visual markers like flags during training, creating a complete picture for your dog. The beep acts as a friendly nudge rather than a punishment, reinforcing where his safe zone ends. Dogs respond well to this graduated alert system, learning to recognize and respect the boundary through consistent audio feedback.
Electronic Correction Response
You can adjust how your system works. Some systems offer warning-only mode, while others combine warning with correction. You might even choose correction-only if your dog has already learned the boundary. The correction strength adjusts too, so you control the intensity based on your dog’s size and temperament. This electronic response teaches your dog to respect the invisible fence through consistent training and association.
Boundary Learning Connection
How does your dog actually learn where the invisible boundary is? Boundary learning happens through a clear pattern of warning and consequence. When your dog approaches the underground fence, the collar first emits a warning beep. If they continue toward the wire, they receive an electronic correction designed to discourage crossing.
This system works through these mechanisms:
- The warning beep alerts your dog before any correction occurs
- The electronic correction associates discomfort with approaching the boundary
- Repeated experiences teach your dog to recognize the danger zone
- Training flags give visual markers that reinforce the invisible boundary
Consistent training helps your dog connect these signals with the specific location. Your dog learns to stop before reaching the wire itself, creating a safe zone they respect.
The Warning Beep: Your Dog’s First Signal
When your dog ventures close to the buried wire, the collar activates a warning beep before delivering any correction, giving your pup an essential heads-up. This beep functions as a sonic boundary marker; the closer your dog gets, the more frequent or intense the beeping pattern becomes, so your dog learns to associate the sound with proximity to the fence line. This distance-based signaling teaches your dog to respond to the warning itself, often allowing you to redirect them before any electrical stimulation occurs.
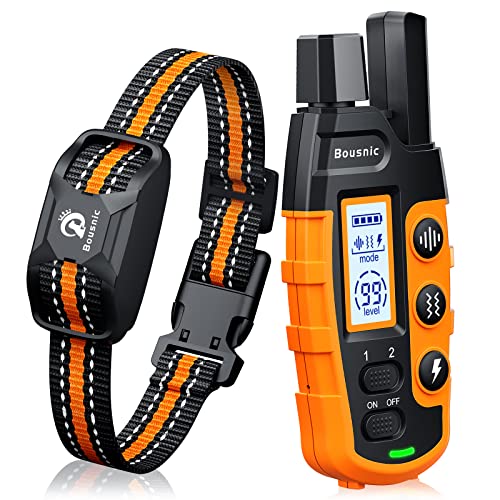
Humane and Safe, Eliminate Bad Behavior Effectively: Bousnic Dog shock collar features 3 humane training modes with adjustable beep(1-8 levels), vibration(1-16 levels), safe shock(1-99 levels). It helps your unruly and hard-headed dogs learn to be a better part of your household.
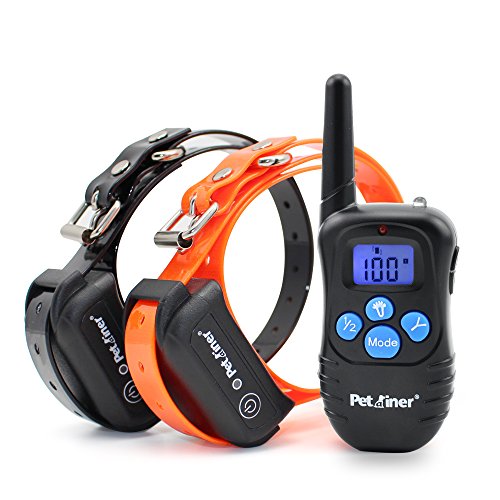
3 training modes: Bark collar with remote for static stimulation, vibration and standard tone mode

Expert dog training control:Our E: Collar is used by expert trainers and first time pet owners; With 0: 100 levels of vibration, static, and standard beep training modes, we promise you can find a quick solution to help correct your dog’s behavior problems.
How The Beep Works
Ever wonder why your dog’s collar beeps before anything else happens? That beep is your dog’s best friend. It’s the warning system that gives them a chance to learn and retreat safely.
When your dog approaches the buried boundary wire, the collar detects the signal and emits that crucial sound. The system works through these mechanisms:
- Progressive warning: The beep volume and frequency change based on how close your dog gets to the boundary
- Distance matters: Different transmitter models produce varying beep intensities, giving your dog clear feedback
- Learning opportunity: Your dog learns to associate the sound with the boundary’s location
- Visual reinforcement: Combining the beep with boundary flags helps your dog understand the limits faster
Your dog learns to stop and turn back when they hear that beep, preventing any correction from ever happening.
Distance And Signal Changes
Now that you understand why your dog hears that beep, let’s explore what actually changes as your dog moves closer to the boundary.
The distance between your dog and the buried wire directly controls what you hear. When your pup’s about thirty feet away, the beep comes softly and slowly. As they creep closer, say fifteen feet, the beep quickens and grows louder. This gradual change benefits your dog by providing clear feedback without any correction yet.
Think of it like a volume dial turning up. Your dog learns to recognize these warning signals and naturally retreat before anything uncomfortable happens. By understanding distance and adjusting their position, they develop the ability to identify where the safe zone ends through their own experience.
How Electronic Correction Works in Underground Fences
How does your dog’s collar know when it’s approaching the buried wire? The collar receives signals from that underground boundary line. When your dog gets close, the collar triggers a response designed to discourage boundary crossing.
The correction system works through these steps:
- Warning beeps sound first, giving your dog a chance to turn back before anything else happens
- Static correction or citronella spray delivers the actual deterrent if your dog continues toward the boundary
- Adjustable levels let you choose warning only, warning plus correction, or correction only
- Consistent training reinforces that the correction connects to crossing the boundary, not to anything else
Your dog learns that the boundary itself causes the correction, not you. Proper collar fit and consistent training make this system effective for keeping your companion safe.

500 Feet of eXtreme Protection 18 Gauge Electric Dog Fence Wire - Polyethylene Coated - Stronger and Longer Lasting than Factory Packaged Wire

Cost-Effective: The use of Copper-Clad Aluminum (CCA) reduces material costs, making this cable an economical option for projects with budget constraints..
Cost-Effective: The use of Copper-Clad Aluminum (CCA) reduces material costs, making this cable an economical option for projects with budget constraints..
Why Training Determines Success or Failure
An underground fence isn’t like a physical barrier that stops your dog with force. It’s a psychological tool that works only if your dog understands what’s happening. Training determines everything. Without it, you’re just hoping your dog figures things out on their own, which rarely happens.
When I start training around five to six months old, I use flags and a leash first. This teaches your dog where the boundary actually is. Only after your dog recognizes the boundary do I introduce the electronic collar’s gentle reminder.
The correction levels matter too. I adjust them to your dog’s sensitivity so the system reinforces learning without confusing them. Skip proper training, and you’ll likely face retraining needs later. Get the foundation right, and your dog respects the boundary consistently.

Multi-Dog System: This kit includes 2 collars, 100 boundary flags, and 1000 ft of wire to help get you started.

SECURE A 2/5 ACRE YARD: Electric Fence for Dogs is to keep your Pet safe and secure. Covers up to 2/5 acre, including 328 feet of wire, additional wire can be purchased Expand to a 30-acre yard, for gardens, pools, woodlands, suburbs, and more. Extra Add Receiver Collars Replacement ASIN for Wired Pet Fence: B0G5Q6GDP8
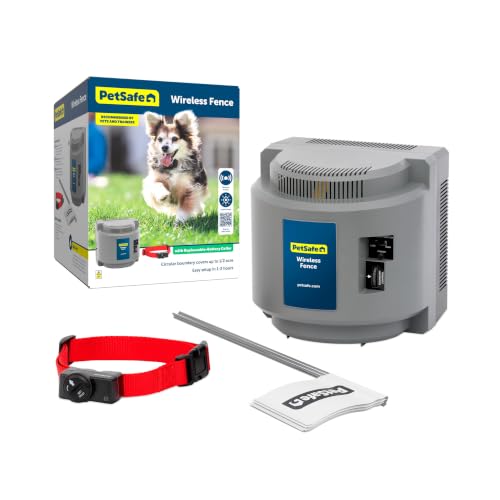
1/2 Acre Of Circular Coverage: The adjustable circular range can cover up to 1/2 acres from the placement of the portable indoor transmitter, and can be expanded further with purchase of an additional transmitter
Teach Your Dog Boundaries With Flags
Where does your dog actually know the boundary is? Boundary flags provide the visual markers necessary for teaching your pup exactly where the containment system’s limits lie.
Here’s how to make it work:
- Place flags around your yard to mark the boundary line clearly
- Start with leash guidance, walking your dog along the flagged area and rewarding them for staying inside
- Practice the invisible gate technique by removing the collar and guiding your dog through the boundary zone
- Keep flags up for 2–30 days to reinforce the connection between the visual cue and the actual boundary
Your dog learns to associate those flags with the allowed area. This visual connection helps them understand the boundary before any electronic correction enters the picture. You establish clear limits while building their confidence in recognizing designated spaces.

Versatile Applicability: Our underground cable locator is your go-to tool for accurately locating non-energized cables or 24V or below low-voltage cables. This underground wire locator is designed only for single-strand wire or double-strand wire in parallel, not for stranded wire. Note: 1. Not compatible with shielded cables or cables enclosed in metal conduits. 2. Not suitable for cables with multiple branching lines.

Dog Fence Wires:The 22 gauge 500 foot underground dog and cat fence coil allows you to add another 1/3 acre to your existing above ground fencing system

Expand Your Existing In-Ground Fence: Help train your pet to stay within certain outdoor areas; custom-shaped area
The Dummy Collar Effect: Reinforcing Invisible Fence Learning
Once your dog reliably stays inside those flags, you’re ready to introduce what I call the dummy collar effect, a pivotal shift in invisible fence training. I temporarily remove the collar while my dog practices staying within the boundary. This teaches them that the underground fences represent a real limit, not just because of the correction they’ll receive. My dog learns to respect the invisible boundary itself.
The dummy collar effect reinforces that voluntary self-control matters more than constant stimulation. I’m essentially showing my dog that staying inside keeps them safe and comfortable. They begin relying on those visual flags and their internalized understanding of where they can roam. This reinforcement transforms how they view their yard boundaries by establishing independent boundary recognition rather than stimulus-dependent behavior.
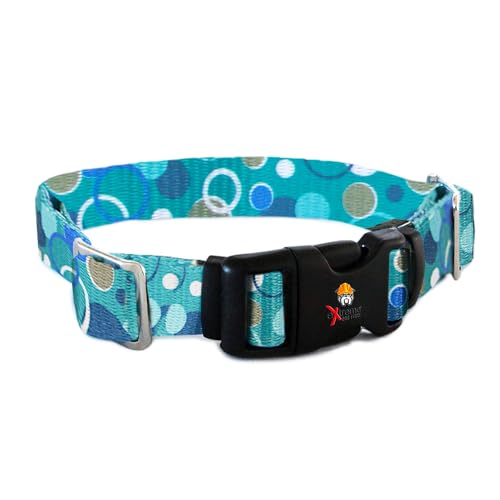
Is your electric dog collar grimy and worn? It’s probably time for a replacement. Choose an exciting pattern to match your dog’s personality. Pick your design and size to fit your dog’s neck perfectly. Voila! Just like new.

Smart 100-Level Containment System for Effective Training This advanced system creates a customizable safety boundary for your pet. Adjust static correction from 1 to 100 levels to match your dog's temperament. The package includes 1 transmitter and 1 receiver collars.

【Rechargeable & Waterproof】: This set of fence equipment includes a charging cable, the collar can be fully charged in 1.5 hours. Underground Dog Fence System Receiver 3 Halo Dog Collars uses IPX7 waterproof technology and can be worn for swimming without affecting signal transmission.(Please be careful not to let the collar come into contact with water for a long time and wipe it off immediately after contact with water.)
Collar Weight and Size: Why Some Dogs Aren’t Suitable
Why does collar fit matter so much in invisible fence training? Your dog’s comfort directly impacts how well the system works. A collar that’s too heavy strains smaller dogs’ necks and causes real discomfort.
What you need to know about dog collars and dog weight:
- Your dog must weigh at least 8 pounds to safely wear the correction collar
- Lighter breeds struggle with neck strain from the battery-powered device
- Proper fit prevents chafing and skin irritation over time
- An uncomfortable collar distracts from actual boundary training
Check the collar’s weight against your dog’s size before purchasing. A properly fitted collar sits snugly without causing pressure points. When your pup wears it comfortably, they’ll focus on learning the invisible fence boundaries rather than fighting the equipment. The match between dog weight and collar design determines your training effectiveness.

7 Effective Training Modes:SLOPEHILL dog shock collar with Beep, Vibration, Flash Light, Low shock level, High shock level, No shock ,and Keypad lock modes. You can use it to teach a dog basic commands and correct unwanted behaviors such as barking, chasing, and biting during outdoor activities

【5 Humane Training Modes】SLOPEHILL upgraded dog training collar with Beep, Vibration, Safe shock, Flash Light ,No Shock modes, You can use it to teach a dog basic commands and correct unwanted behaviors such as barking, chasing, and biting,Which can improve your dog’s behavior at home or in social settings and enhance the feeling with your friends

Underground installation
Adjusting Correction Strength to Your Dog’s Sensitivity
Once you’ve picked the right collar for your dog’s size, you’ll need to figure out the correction strength that actually works for your pup. This requires understanding what correction levels mean, finding the sweet spot where your dog responds without overreacting, and testing different settings until you get results. The goal is making adjustments that match your dog’s personality, not forcing your dog to match some preset number.

HIGH-GRADE COPPER CLAD ALUMINUM (CCA) - Our primary wiring cable, specially designed for automotive applications and audio speaker wiring, is crafted using top-notch Copper Clad Aluminum (CCA). This carefully chosen material guarantees dependable and efficient power transmission for all your 12-volt electrical requirements. Our CCA cable offers exceptional power transfer performance while remaining cost-effective, providing you with an excellent balance between quality and affordability.
Cost-Effective: The use of Copper-Clad Aluminum (CCA) reduces material costs, making this cable an economical option for projects with budget constraints..

18 Gauge Stranded Wire
Understanding Correction Levels
How do you know if your dog’s collar is set too strong or too weak? Understanding correction levels is essential for training success. Your system offers three options, and I recommend starting conservatively.
Here’s what I consider when adjusting settings:
- Warning-only mode: Perfect for introducing limits without stress
- Warning plus correction: Combines a beep signal with mild stimulation as your dog approaches the fence
- Correction-only mode: Reserved for dogs who ignore warnings consistently
- Progressive intensity: I increase levels gradually only if my dog doesn’t retreat after hearing boundary warnings
I begin with low settings and observe my dog’s response carefully. If she responds to the beep alone, that’s ideal. I only increase intensity when necessary, ensuring she associates the boundary with the adjustment level, not random punishment. Consistent training prevents overcorrection and builds reliable habits.
Finding Your Dog’s Threshold
Every dog has a different comfort level, which is why I adjust the correction strength to match your individual pet’s sensitivity rather than using a one-size-fits-all approach. I start at the lowest setting, much like testing an electrical outlet’s safety before plugging something in. If your dog ignores the warning beep near the boundary, I gradually increase the level. Think of it like turning up a volume knob, slowly and carefully. I watch for freezing or overreaction, which tells me we’ve gone too far. Some dogs test the boundary once or twice before understanding, and that’s normal. When I find the sweet spot, your dog respects the fence without fear. Regular observation helps me fine-tune settings, ensuring the correction works effectively for your unique companion.
Testing And Fine-Tuning Settings
Now that you’ve found your dog’s comfort level, the real work begins: maintaining the correct correction strength for your pet’s behavior. Testing happens gradually as you monitor how your dog responds over weeks. You’ll adjust settings based on your observations, keeping training consistent and fair.
For fine-tuning:
- Start each training session by checking the beep warning. It should get your dog’s attention without startling them.
- Watch for boundary testing. If your dog pushes past the warning, slightly increase the correction level.
- Document any changes you make so you understand what works best.
- Retest monthly as your dog grows or their sensitivity shifts.
This adjustment process keeps the system effective while respecting your dog’s individual needs.
Where (and How) to Place Your Transmitter
The transmitter is your underground fence’s command center, and its placement is critical to system performance. Place it in a dry location near an electrical outlet, typically in a garage or shed where it stays protected from weather and moisture.
Before burying your boundary wire, mark your yard layout with spray paint or a garden hose. This helps you visualize the loop around your property perimeter and identify critical crossing points near doorways where your dog might escape.
Position your transmitter close to these access areas to ensure proper signal coverage. Keep it accessible for maintenance checks and adjustments. Your transmitter’s range and correction levels vary by model, so you’ll need easy access when fine-tuning settings for your pets’ safety.
Creating Safe Crossing Points for Doorways and Gates
How do you keep your dog from bolting through an open door? Creating safe crossing points at doorways requires intentional planning and consistent training.
Mark crossing areas first, then strategically snip the boundary wire at those points. This lets your dog learn where it’s safe to cross.
- Use the transmitter’s warning signal near doorways to cue your dog to stop before breaching the boundary.
- Train with leash guidance, rewarding your dog for staying within the designated area.
- Keep crossing points consistent so your dog understands the rules.
- Regularly test the boundary wire and use visual flags to reinforce safe behavior.
When doors open, ensure the wire disconnects and reconnects properly so the boundary stays stable. This approach teaches your dog safe passage habits through repetition and clear spatial boundaries.
How Deep Should You Bury the Wire?
Where you place that boundary wire underground makes all the difference in keeping your system working year after year. Burying your wire 1 to 3 inches below the surface strikes the perfect balance. This depth protects it from weather damage and lawn equipment while keeping it accessible for repairs.
| Depth Range | Protection Level | Maintenance Ease |
|---|---|---|
| Too shallow | Low | Easy |
| 1–3 inches | High | Good |
| Too deep | High | Difficult |
| Above ground | Very low | Very easy |
| 4+ inches | Very high | Hard |
Use a Kwik-Trench tool to maintain consistent depth. Proper wire burial keeps your buried fence system reliable for years without unexpected failures.
Can Multiple Dogs Share One Underground Fence?
Yes, you can set up one underground fence system for multiple dogs.
Your multiple pets can share the same buried boundary, but each dog needs its own Computer Collar Receiver. This setup lets you monitor all your animals around a shared perimeter simultaneously.
- Each collar receives independent boundary corrections tailored to that specific dog
- You can configure different correction levels for each pet based on their temperament
- Trainers help customize settings so every dog learns to respect the same underground fence
- Adding a new dog means purchasing an additional Computer Collar unit and scheduling trainer support
Since different pets require individualized training, working with a professional ensures each dog responds appropriately to your system’s shared boundary.
Why Dogs Test the Boundary (and How to Stop It)
Most dogs don’t immediately accept an underground fence as a permanent barrier. They’ll approach that buried wire and listen for the warning beep, curious about what happens next. Some dogs push past the beep intentionally, testing whether the correction is worth crossing. Proper training stops this behavior effectively.
I recommend using a leash to guide your dog away from the fence wire when they approach. Pair this with boundary flags as visual aids so your dog connects the flags with the boundary cues. Regular system checks matter too. Verify battery levels, wire integrity, and collar fit to keep signals reliable.
If your dog freezes or repeatedly tests, retraining with a leash rebuilds their confidence. Some dogs view the correction as a price worth paying, requiring professional help to adjust their perspective.