Blackout curtains block light, not heat. Darkness doesn’t stop heat from traveling through glass and gaps. What actually matters is the lining and backing color. A white or reflective backing bounces heat away, while dark backing absorbs it. Even with quality fabric, gaps around your curtain edges let warm air slip through via convection. Five practical fixes can transform any curtain into a real heat blocker.
Why Blackout Curtains Don’t Block Heat (And Why You Thought They Would)
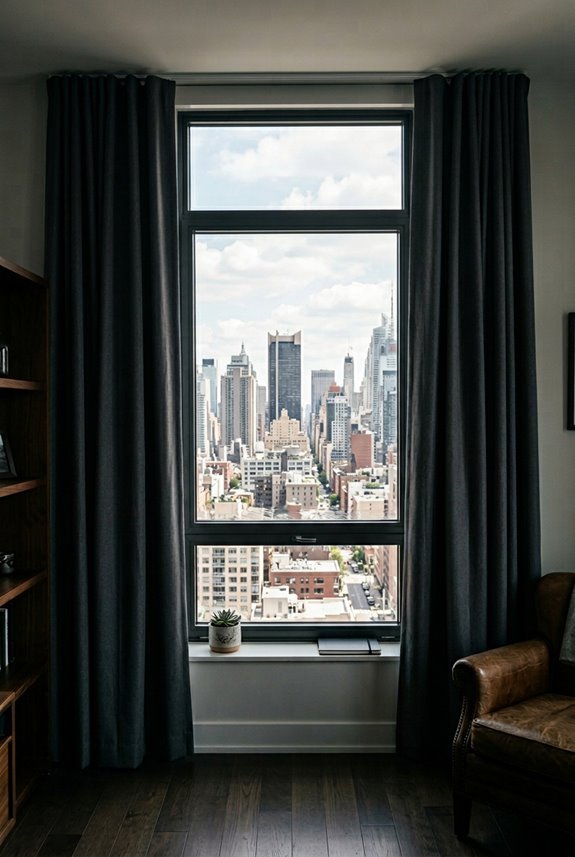
Just because blackout curtains stop light doesn’t mean they stop heat. The dark fabric seems heavy and protective, but darkness and heat blocking aren’t the same thing.
Blackout curtains block light via their 100% opacity, which you can see working immediately. Heat, though, travels differently. It moves through your window glass, sneaks in through tiny gaps, and circulates between the curtain and wall. Your fabric’s darkness won’t stop any of that.
Without thermal lining or proper sealing, blackout curtains are basically just light blockers. They look like they’re protecting you from heat, but they’re really just keeping the room dark while warmth enters freely behind them. The disconnect is real: visual darkness doesn’t equal thermal protection.
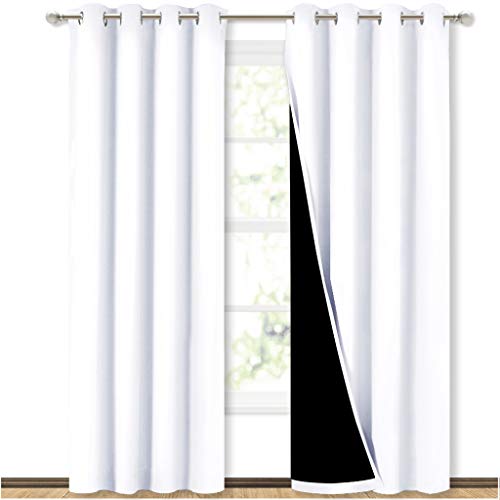
Ready Made: 2 panels per package. Each Classic Curtain measures 52" wide x 84" long (Total width is 104"). The unique design of the silver grommet (1.6 inch inner diameter) creates casual elegance for your house, which makes the curtains easy to install and slide.

100% Physical Blackout: 100% total light blocking is achieved through our heavy double-layer fabric. Are you struggling to sleep during bright hours due to piercing sun glare or blinding streetlights? Our dual-panel system utilizes two layers of high-density 230GSM woven polyester with a built-in black lining to shut out all incoming light. Imagine transforming your sun-drenched room into a serene midnight sanctuary, allowing night-shift workers and infants to enjoy deep rest.
Why Lining Matters More Than Color
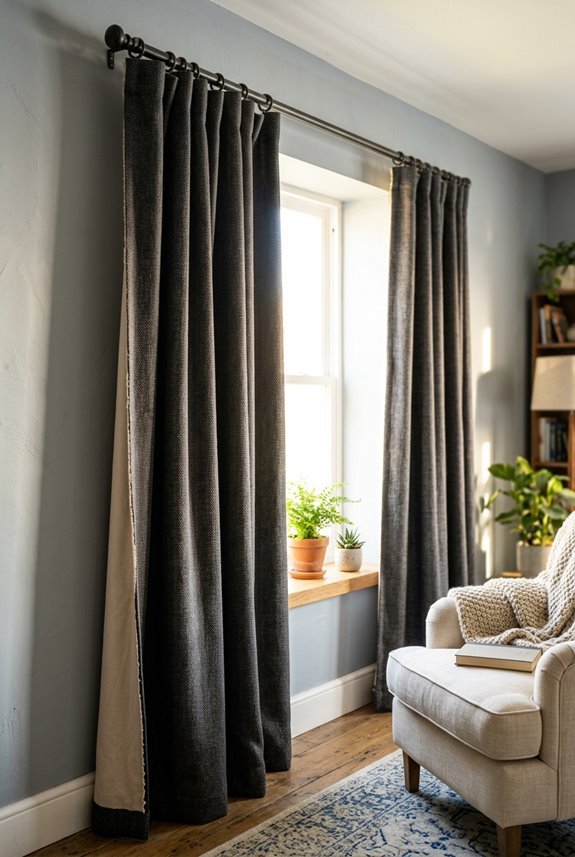
Now that we’ve established blackout curtains won’t magically block heat on their own, let’s talk about what actually makes them work: the lining. The fabric color barely matters compared to what’s behind it. A three or four-pass acrylic foam lining seals the weave and reflects solar radiation back outside. That’s your real heat fighter.
A black velvet curtain without lining can actually heat your room to 120°F in direct sun. Meanwhile, a properly lined curtain with white or off-white backing reflects sunlight back through the glass, keeping heat out. The backing color matters too. Black backing absorbs energy and creates hot air pockets, while light backing bounces that energy away. Lining is essential if you want thermal protection.

EASY TO INSTALL: Includes cashmere blackout curtains 2 panels set per package. Each panel measures 42 inches wide by 63 inches long, with 6 silver-color metal grommets on top, fit rods less than 1.6 inch diameter. Suggest choose the right size after measuring your windows.
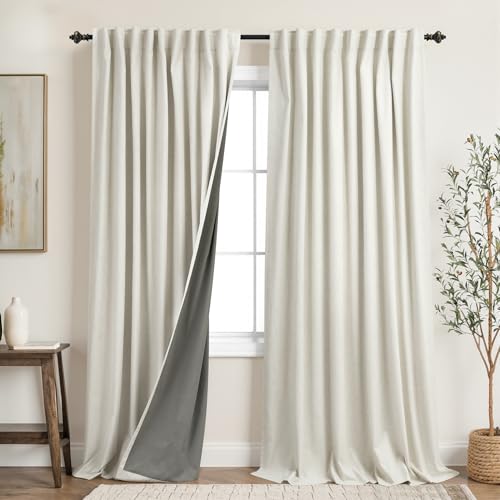
100% BLACKOUT: These linen textured curtain panels block out 100% complete sunlight and UV rays,turning day into night.Help on you and your kids sleeping.

PACKAGE MADE:2 panels per package. Each Lined Curtain measures 52" wide x 84" long. 8 Silvery Grommets per panel. This silvery grommet (1.6 inch inner diameter) fits many rods. Easy to hang and smooth to slide. The simple design gives people a sense of ease.
The Color Rule: White Backing Changes Everything
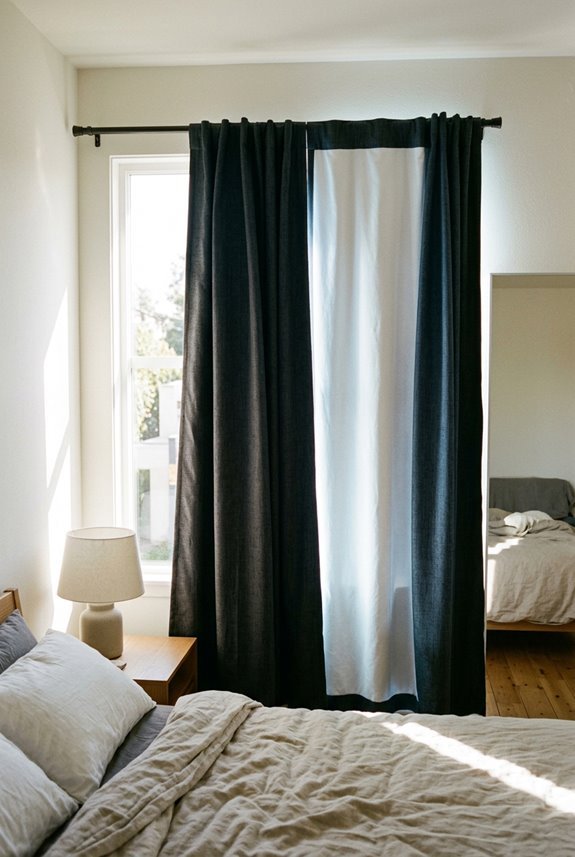
Why does the back of your curtain matter more than the front?
The white backing is where the real heat-blocking mechanism occurs, reflecting solar radiation straight back through the window.
The white backing is where the real heat-blocking mechanism occurs. When you choose white backing, you’re reflecting solar radiation straight back through the window. That means less heat enters your room.
Dark backings do the opposite. Black absorbs energy and heats up the fabric, creating a hot air pocket between your curtain and glass. Convection kicks in, and warmth spreads throughout your space.
Pick navy or black velvet for your room-facing side if you want that cozy look. Make sure your glass-facing side is white or off-white. This combination gives you the best of both worlds: style and serious heat reduction. Your energy bills will decrease as a result.
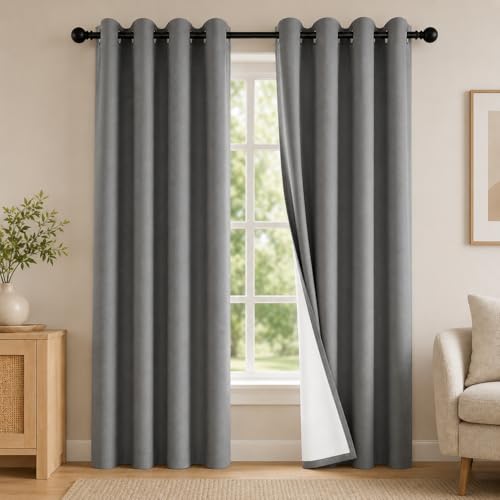
100% BLACKOUT: Designed with a white blackout backing, these curtain panels block 100% of incoming sunlight and UV rays for blackout performance, room darkening, better sleep, added privacy, and everyday comfort.
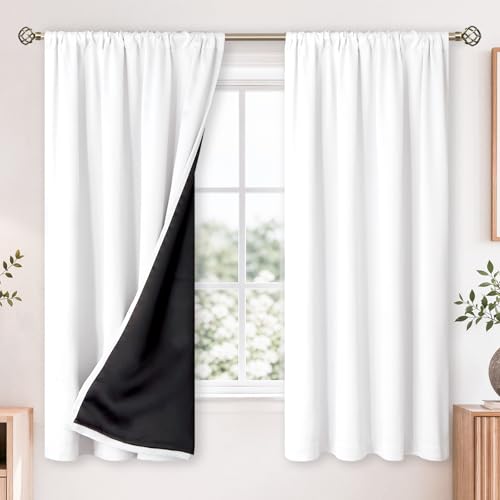
Package Includes: 2-panel set of white 100% blackout (room darkening) curtains, each panel measuring 52 inches wide (2-panel total width: 104 inches). Each panel has a length of 63 inches (overall pair size: 104" W x 63" L). There is a 3-inch rod pocket at the top of each panel, which fits most curtain rods.
The Chimney Effect: How Installation Gaps Create Heat
You’ve got the right color combination on your curtains, but most people miss a critical installation step: all that heat-blocking power disappears if you don’t install them correctly. The chimney effect is a convection problem that pulls warm air right out of the room.
Here’s how to stop it:
- Seal the top gap between your curtain and wall to prevent warm air from escaping upward
- Overlap the middle by at least 4 inches so hot air can’t slip through the center
- Make sure your drapes touch or pool on the floor, blocking the bottom pathway
When gaps exist anywhere, convection currents form behind the curtain. Cool air gets drawn up while hot air moves out. Even blackout fabric cannot prevent this. Proper installation seals everything tight.

🌛【100% Blackout】Sumobaby blackout curtains adopts upgraded reflective silver coating and high-density black polyester, the blackout effect can easily reach 100%. Blocks sunlight and harmful UV rays to darken your room, thermal insulated and enhance privacy.

ELEGANT DESIGN: 2 panels per package. Each Blackout Curtain Panel measures 42 inches wide x 63 inches long. The NICETOWN drapery is constructed with rod pocket, fitting the curtain rod of your choice up to 2 inches in diameter, making the curtains easy to install and slide.

Pair Sold: 2 panels per package. Each panel measures 52 inches wide by 84 inches Long, pair measures 104 inch width x 84 inch Length. 3 in 1 hanging style includes (1) using the back loops to create an elegant pleated effect, (2) from the 3 inch rod pocket for a classic look, or (3) using clip rings for easy, slide open and closed (clip rings not included)
Five Essential Fixes to Block More Heat (Without Replacing)
I’ve found that you can dramatically improve your blackout curtains’ heat-blocking power with three straightforward fixes that won’t cost you a fortune or require new curtains. First, I extend my panels 4–6 inches beyond the window frame on each side and let them overlap in the middle, which stops warm or cool air from sneaking around the edges. Then I add weatherstripping around the frame itself and consider a removable thermal liner clipped between the curtain and glass. This simple layer acts like an extra blanket that traps the dead air space where heat loss actually occurs.
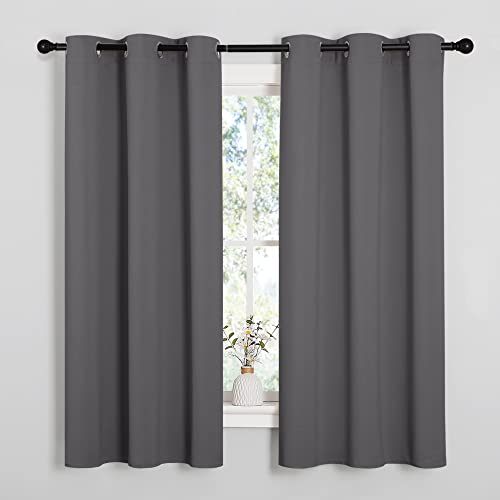
READY MADE: Set includes 2 BLACKOUT CURTAINS PANELS of 42" wide x 63" length with 6 grommets top each. Quality fabric without liner feels soft and heavy.
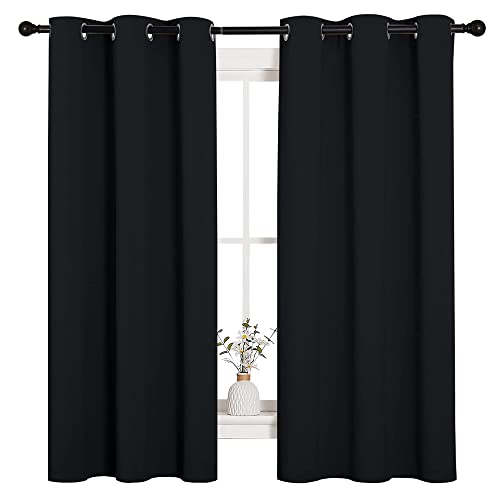
READY MADE: Set includes 2 BLACKOUT CURTAINS PANELS of 42" wide x 63" length with 6 grommets top each. Quality fabric without liner feels soft and heavy.

Easy Installation: Features an easy-to-attach double-sided velcrow strap that peels off with no mess or fuss. No need for any tools or curtain rods. Anyone can do it
Extend Coverage Beyond Frame
How much heat actually sneaks around your curtain edges? More than most people expect. Extending your curtains beyond the window frame makes a real difference in blocking heat.
What I recommend:
- Extend your curtains 4–6 inches on each side of the window frame to reduce convective heat transfer behind the fabric
- Use tension rods or removable brackets to create wide, overlapping panels that reach the sill without gaps
- Ensure panels overlap at the center so hot air can’t slip through a middle opening
The key is maintaining enough slack so your curtains open and close easily while still pressing against the walls. This simple adjustment stops heat from bypassing your curtains entirely, which improves the overall thermal efficiency of your window treatment.
Seal Edges With Weatherstripping
While extending your curtains stops a lot of heat from sneaking around the sides, there’s still a gap between your fabric and the window frame itself. Weatherstripping addresses this issue. Apply removable weatherstripping along the top third and both sides of your window to seal those air leaks. This simple fix reduces convection, which occurs when hot air flows behind your curtain and into your room. You don’t need tools or permanent installation; just peel and stick the weatherstripping in place. It works best when paired with extended curtain coverage. Together, they create a barrier that keeps your cool air inside, reducing energy loss and lowering cooling costs without complicated renovations.
Add Removable Thermal Liner
When you’ve sealed your window edges and extended your curtains, you’re already blocking a lot of heat. A removable thermal liner adds another effective layer to your setup.
A removable liner sits between your blackout curtain and the window itself. This upgrade significantly improves performance. Here’s what makes it work:
- The reflective, insulated material stops heat from conducting through the glass and convecting behind the fabric
- You size it to match your panels exactly, keeping it flush at all edges to prevent airflow gaps
- It stays removable, so you can take it down for cleaning or seasonal adjustments
After installing your liner, test the darkness and check for new gaps. This combination of weatherstripping, extended curtains, and a thermal liner creates a substantial heat barrier that reduces heat loss through windows.
Extend Your Coverage Beyond the Window Frame
I’ve found that extending your curtains 4–6 inches beyond each side of the window frame, plus running them wall-to-wall whenever possible, reduces heat loss significantly. When you minimize those edge gaps where warm air escapes behind the fabric, you create a thermal barrier that improves insulation. An outside-mounted installation, where the curtain rod sits on the wall rather than inside the frame, provides wider coverage without requiring permanent modifications to your windows or walls.
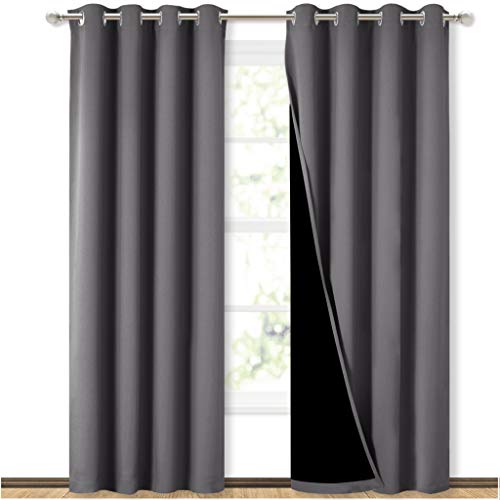
Complete blackout curtains block light and reduce noise for better sleep - 2 layer construction with blackout lining

100% Total Blackout & UV Blocking: Achieve perfect darkness with these blackout curtains! The dedicated liner blocks 100% sunlight and UV rays, ideal for any bedroom or living room. This blackout curtain protects furniture from fading and helps regulate room temperature year-round.

PACKAGE MADE:2 panels per package. Each Lined Curtain measures 52" wide x 84" long. 8 Silvery Grommets per panel. This silvery grommet (1.6 inch inner diameter) fits many rods. Easy to hang and smooth to slide. The simple design gives people a sense of ease.
Wall-To-Wall Coverage Essentials
Simply hanging them over your window isn’t enough to block heat effectively. You need wall-to-wall coverage to truly seal out warmth.
Strategic placement makes all the difference:
- Extend your curtains 4–6 inches beyond the window frame on each side to eliminate those sneaky air gaps where heat escapes.
- Mount them outside the window instead of inside. This larger covered area dramatically improves heat reduction and changes how effective they become.
- Ensure your drapes reach the sill or floor with slight pooling to prevent warm air from circulating behind the fabric.
These steps transform your blackout curtains from decorative pieces into genuine heat-blocking barriers. Proper coverage will reduce your room’s temperature by blocking solar radiation and preventing warm air circulation.
Minimizing Edge Gaps Effectively
To stop heat from sneaking around your blackout curtains, extend them well beyond the window frame itself. Stretch your coverage 8–12 inches past the frame on each side. This extra reach blocks heat transfer by preventing hot air from circulating behind the fabric.
Overlap your panels at the center by at least 4 inches, and make sure they reach the windowsill. These overlaps seal the gaps that create a chimney effect, where warm air rises and escapes.
Seal side gaps using removable hook-and-loop strips or soft magnets along the top third and sides. This combination keeps your blackout curtains functioning as an actual thermal barrier rather than just darkening your space.
Outside-Mount Installation Advantages
Mounting your blackout curtains on the wall outside your window frame provides real advantages for blocking heat. Outside-mount installation delivers measurable benefits:
- Extended coverage – You’re covering the wall beyond the window, which seals gaps where warm air sneaks in.
- Reduced edge leakage – The sides and top are now covered, preventing heat from bypassing your curtains entirely.
- Larger air space – Wall-to-wall and floor-to-ceiling mounting creates a bigger insulating buffer between the glass and fabric.
Pairing your outside-mount setup with overlaps at the center and sides stops solar gain from leaking through frames and gaps. This combination reduces indoor temperature rise by blocking multiple heat infiltration pathways.
Add Liners, Seal Leaks, and Time Your Curtains
You’ve probably noticed how curtains alone can’t stop heat from sneaking in around the edges and behind the fabric. Adding a removable thermal liner between your curtain and window dramatically improves insulation by blocking airflow.
To eliminate gaps, extend your curtains 4–6 inches beyond the window frame on each side. Seal air leaks with removable weatherstripping around the frame and use a draft stopper behind the drapes.
Timing affects performance. Close your curtains during peak sun hours to maximize heat reduction. Ensure your curtains overlap at least 4 inches in the middle and lightly touch the floor to prevent convection problems.

SET DETAILS: Set of 2 total blackout curtain panels per package. Each lined curtain measures 42 inch wide by 63 inch long with 6 silver metal grommets (1.6 inch inner diameter) on top, easy to install and slide.

Package Includes: White 100% blackout curtains 63 inches length 2 panels set. Each curtains panel is 42 inches wide (a pair is 84" W x 63" L) and room darkening curtains with a 3-inch rod pocket at the top, fits most curtain rods.
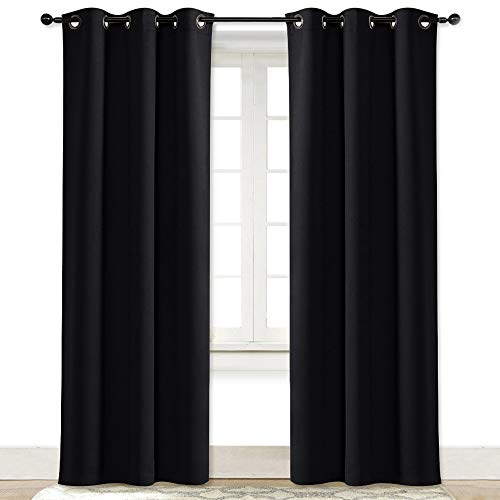
ELEGANT DESIGN: A panel BLACKOUT CURTAIN per package. Each Curtain Panel measures 42" wide x 84" long. The NICETOWN drapery is constructed with gorgeous matte silver grommets, fitting the curtain rod of your choice up to 1.6 inches in diameter, making the curtains easy to install and slide.
Blackout Curtains vs. Thermal vs. Cellular Shades: A Heat-Blocking Comparison
While blackout curtains excel at blocking light with their 100% opacity, they don’t automatically block heat. Heat blocking depends on what’s lining the fabric and how you install them. Comparing your options helps you choose what actually works for your space.
Here’s what each option delivers:
- Blackout curtains block heat better with 3-pass or 4-pass linings that add acrylic foam to reflect solar radiation
- Thermal curtains focus specifically on temperature control with thicker 3-layer fabric and reflective lining, often outperforming standard blackout fabrics
- Cellular shades trap air in their cells, providing exceptional heat blocking per square inch and can be blackout if you specify it
For best results, mount everything outside the frame with wall-to-wall coverage to seal side gaps. You can also layer a cellular shade inside with a blackout drape over front for maximum insulation.

STANDARD MADE: Curtains are sold per pair. Each pack contains 2 blackout functional curtain panels. Each panel measures 52" W x 84" L | Pair measures 104"W x 84"L. Thread trimmed and wrinkle free, each piece is constructed with 8 anti rust grommets which fit well up to 1 1/2 inches curtain rods for effortlessly installation and sliding

100% Blackout Curtains: Our Blackout Curtains ensure a completely dark room, isolate noise and protect privacy. These room darkening curtains can block 100% sunlight.Heavy duty curtains keep heat indoors in winter and discharge heat in summer, thereby reducing cooling and heating costs , While protecting your furniture, floors and artwork from the sun damage
When to Repair, When to Replace Your Blackout Curtains
Now that you understand how different window coverings handle heat, it’s time to figure out whether your current blackout curtains are worth fixing or if they need replacing.
Repair your curtains if they’re still structurally sound. You can extend coverage 4–6 inches beyond your window frame on each side, add removable thermal liners, and seal air gaps with weatherstripping. Hook-and-loop strips work well for minimizing side leaks.
Replace them if your panels are too small for proper overlap or lack thermal backing, especially if your window gets intense sunlight or sits in an under-insulated room. Upgrading to larger, thermal-backed panels with outside mounting reduces energy costs. Consider your window’s exposure before deciding. Replacement often provides measurable improvements in insulation performance.
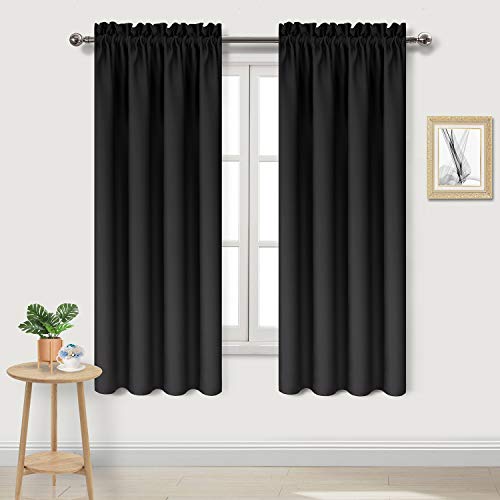
[Polyester Material] Made of high-quality durable 100% polyester fabric, our blackout curtains are super smooth and soft. Two blackout curtain panels will be included in the bundle. Each panel is 42 inches wide by 63 inches length

【100% Blackout Effect】Joydeco blackout velvet curtains are made from three-layer soft fabric. And the solid shading layer boasts excellent light-blocking capabilities, ensuring that your room remains dark in strong sunlights or bright nights.

100%BLACKOUT- Nighton 100% blackout curtains, lightweight fabric for easy portability, blocks sunlight in summer and reduces heat loss in winter, Perfectly blackout shading to create a comfortable dark sleeping environment