

I’ll walk you through building a durable outdoor couch in five manageable steps.
First, I select cedar wood and gather my tools like a drill and circular saw.
Then I measure and cut frame pieces to exact specifications: 24½ inches and 57½ inches.
Next, I assemble the corner frame using pocket holes and exterior screws for hidden fasteners.
After that, I build the backrest with tapered uprights and notched slots for slats.
Finally, I sand everything smooth, apply waterproof stain, and add cushions for comfort.
Proper finishing prevents wood deterioration and extends the couch’s lifespan.
Select Your Wood and Gather Your Tools
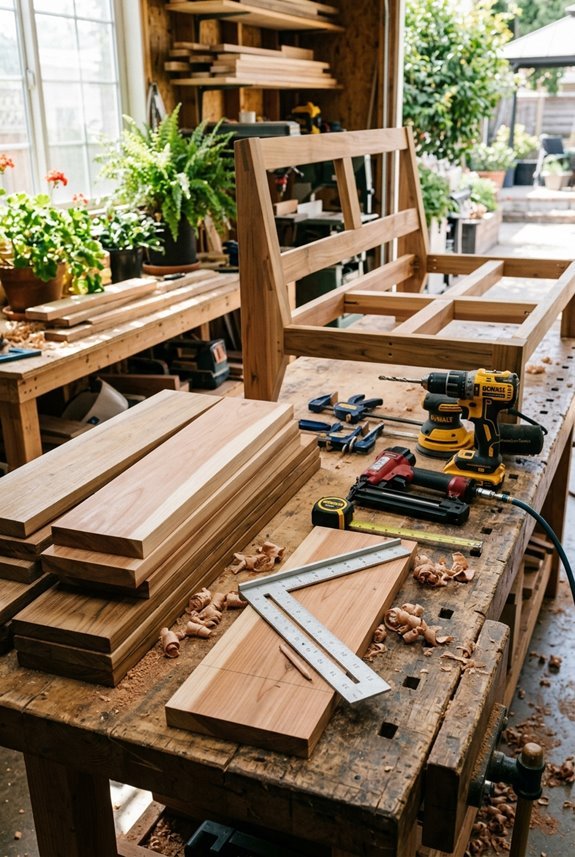
Building an outdoor couch starts with picking the right materials. Cedar offers natural beauty and durability, though pressure-treated lumber works well too and costs less. You’ll also need exterior-grade screws and deck screws that won’t rust, plus waterproof glue rated for outdoor use.
For finishing, seal cedar with Cabot Australian Timber Oil in Honey Teak to protect the wood from moisture and UV damage. This weatherproof finish prevents deterioration and maintains appearance through multiple seasons.
Gather your tools next: a drill, circular saw, measuring tape, and sandpaper. These basics are essential when building the seat slats, back rest, and frame. Quality materials and proper tools are required for this project.

PEPPERMINT SPRAY FOR BUGS: This natural bug repellent for home is made with peppermint and cedarwood oil for pest control; it works indoor and outdoor by repelling bug, spiders, stink bugs, earwigs, flies, cats and rodents from crawling in your house, basement, attics, and yard; this is why Kate's Home & Garden insect repellent is a great indoor insect & natural pest control spray for insects to keep in your household supply

WICKER SEATING: Featuring a long-lasting woven seat, this natural style is perfect for an organic outdoor look. The handcrafted details of the wicker bring a homemade, classic feel to your patio or backyard.
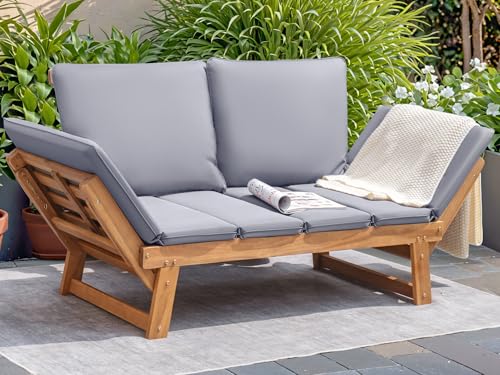
Utilize Your Outdoor Area: Devoko outdoor couch can easily meet your needs to spend leisure time in your patio, porch, balcony, poolside and other outdoor space with a comfortable sitting or lying experience.
Measure and Cut Your Frame Components
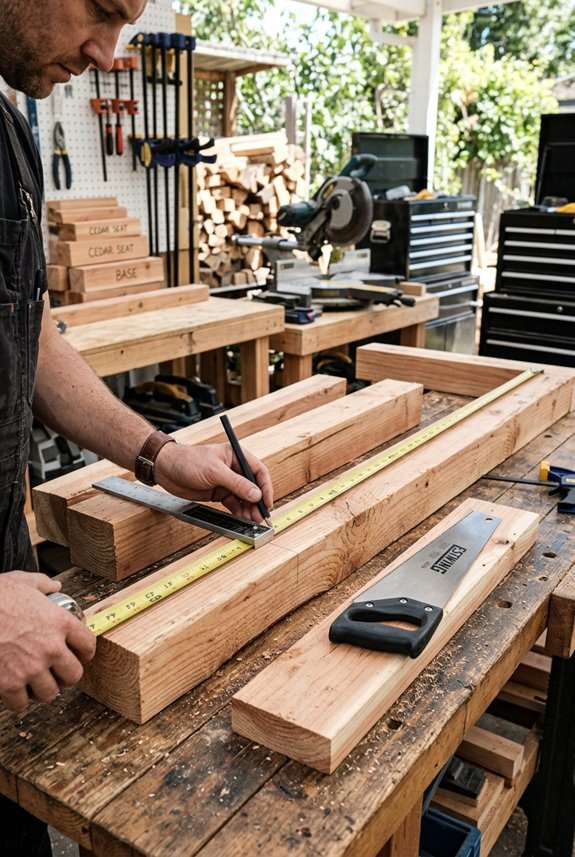
How do you turn a pile of lumber into a sturdy frame? You start by measuring and cutting your frame components with precision. Use a cut list that includes four pieces at 24 1/2 inches, two pieces at 30 1/4 inches, five pieces at 57 1/2 inches, and eight pieces at 27 1/4 inches. A compound miter saw ensures each cut maintains uniform length and proper angles. When cutting the side frames, pay close attention to end-grain orientation to keep everything symmetrical. Mirror the end components so the left and right sides match perfectly. Taking time with these measurements and cuts prevents frustration during assembly, and double-checking dimensions before making each cut on your outdoor couch project is essential.

100 Count Pack: Includes 100 Blue-Kote pocket-hole screws for woodworking, cabinetry, and furniture assembly projects

【Various Size Options】: LIONMAX Pocket Hole Screws Assortment Kit 450PCS for Exterior is available in 5 sizes, which are #8 x 1"--60PCS, #8 x 1-1/4"--210PCS, #8 x 1-1/2"--40PCS, #8 x 2"--40PCS, #8 x 2-1/2"--100PCS, designed for various wooden builds.

100 Count Pack: Includes 100 Blue-Kote pocket-hole screws for woodworking, cabinetry, and furniture assembly projects
Assemble the Corner Frame and Side Sections
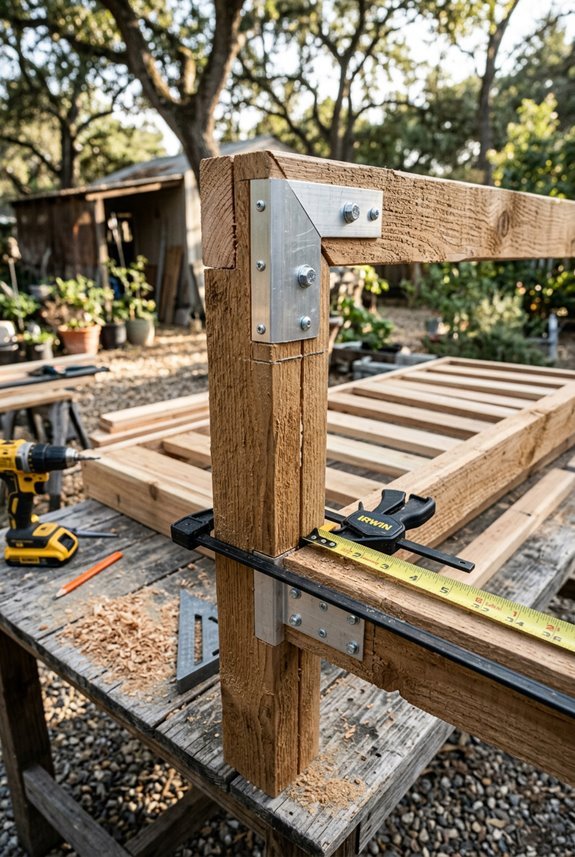
With your frame components cut to size, you’re ready to piece them together into the structural foundation of your couch. Start by assembling the corner frame using your seat framing and four angled back posts. These posts come in mirrored pairs, which keeps the end grain oriented correctly. Use pocket holes and exterior screws to join everything together, keeping fasteners hidden from view. Next, attach the 2×2 back slats across the back posts, screwing them directly into the corner brace for rock-solid stability. Finally, connect your side sections to this corner frame, aligning all the angled backs perfectly. When everything’s secured, you have a sturdy modular corner unit that serves as the anchor for your entire outdoor couch.

WATERPROOFING STAIN – Bring out the beauty of your outdoor wood with Thompson’s WaterSeal Semi-Transparent Waterproofing Wood Stain. Along with adding lightly tinted color, it’s a deck sealer that prevents water damage to help you maintain your outdoor living spaces.

READY-TO-USE DECK STAIN & SEALER: Olympic WaterGuard woodland cedar semi-transparent wood stain and sealant combines color and waterproofing in one water-based, ready-mix coat.

STAIN FOR WOOD: We offer 9 color tints to mix with Nano, Marine, and Exotic waterproof sealants. Our semi-transparent stain options are Cedar, Natural, Brown, Light Brown, Redwood, Bronze Cedar, Black, Coastal Gray, and Mahogany
Build the Backrest and Reinforce All Joints
What transforms a simple bench into a real couch you’ll actually want to sit in? The backrest. I build mine from cedar 2x4s with four uprights cut to 21 inches and tapered at 15 degrees. Then I cut three notches, each 3-1/2 inches wide by 3/4 inch deep, to seat 14 back slats that create ventilation and support.
Reinforcement strategy:
- Cut notches using a dado blade or circular saw with careful chiseling
- Taper uprights on the back for a clean visual line
- Attach the backrest to seat supports with 1-1/2 inch screws for even load transfer
- Sand to 150 grit, then apply exterior spar urethane for weatherproof protection
These joints handle real weight while resisting weather damage and extending the functional life of your outdoor couch.

Size Selection - Set includes 1 seat cushion measuring 24” W x 24” D x 4” T and 1 back cushion measuring 24” W x 20” H ( The size description is only for the cushion size, accurately measuring the dimensions of your furniture's seating area in advance, make sure the cushion size fits your furniture ).

Easy Setup & Sustainable Care - Requires simple assembly. The hidden-zipper, fully removable cover is machine washable for long-term reuse. The cushion is ready for use after 24-48 hours of self-recovery from compression, or use a hairdryer to accelerate the process.

【Durable Material】The patio wicker chair cushions set use 100% polyester high quality fabric, durable, waterproof, breathable and fade resistant material which is suitable for indoor and outdoor funiture
Sand, Stain, and Install Your Cushions
Your couch is structurally complete, but it won’t look finished or feel comfortable until you sand, stain, and add cushions. Start by sanding all cedar components with an orbital sander, using 80-grit to round edges and 220-grit for smoothness. This prep work protects your wood and creates a surface ready for finish.
Apply exterior stain like Cabot Australian Timber Oil in Honey Teak after ensuring surfaces are clean. This step transforms raw cedar into a polished outdoor sofa.
Install cushions by placing 5 seat foam pieces and 3 back foams in their designated spots. Use 24″x24″ cushions that fit snugly within seat sections. Building DIY box cushions with proper foam provides a comfortable, custom finish that completes the project.

Fits Most 7-1/4, 8, 8-1/4, 10, And 12-Inch Miter, Sliding Compound Miter, Chop, And Portable Saws
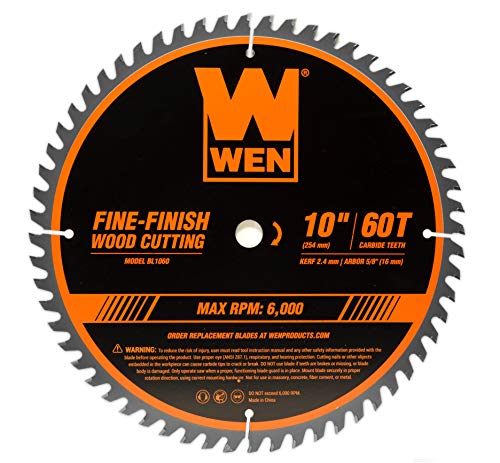
Featuring a 10-inch diameter (254 mm), a 5/8-inch arbor (15.88 mm) and a rating of up to 6000 RPM
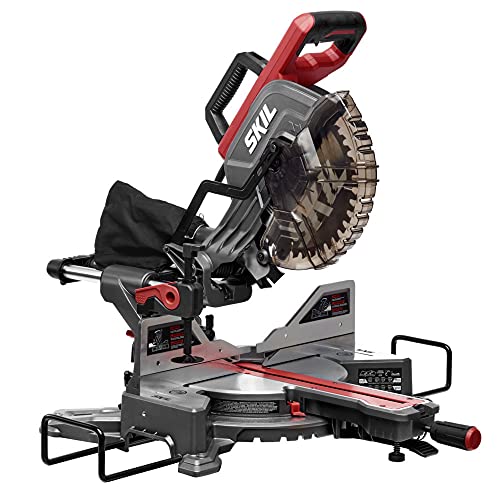
POWERFUL 15 AMP MOTOR - Delivers 4,800 RPM for quick, detailed cuts